
Our Garage Floor Coating Process
What happens from free estimate to finished floor — and why the prep steps matter most.
Get a Free QuoteFree on-site estimate
We measure the floor, look for cracks, spalling, oil and old coatings, check for moisture, and bring flake and color samples. You get a written, itemized quote.
Clear and protect
You empty the garage. We protect walls, doors and anything that stays, and tape off thresholds and drains.
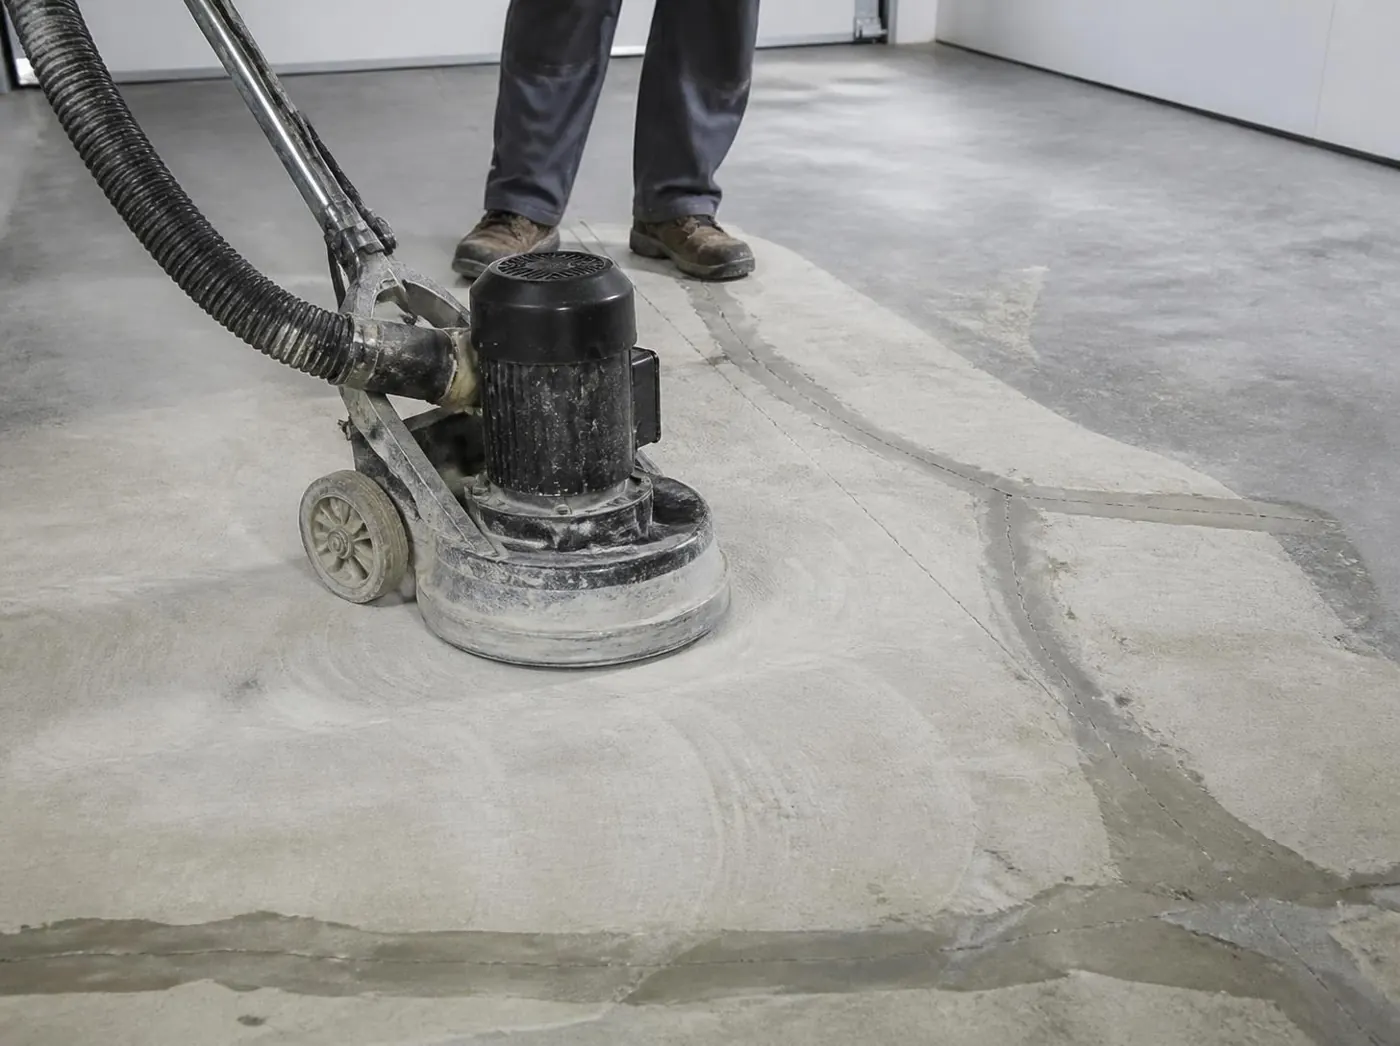
Diamond grind
We grind the entire slab with diamond tooling and dust-extraction vacuums to remove sealers, curing compounds and weak surface paste and to open the concrete.
Repair
Cracks are cut and filled, spalls and pitting are patched, and control joints are filled or honored. Repairs are ground flush.
Base coat
A pigmented base coat is applied — epoxy, polyurea or a moisture-mitigating primer, depending on the system and slab.
Flake broadcast or metallic
For flake floors, color chips are broadcast to full coverage. For metallic floors, the pigmented epoxy is worked into its pattern.
Scrape and topcoat
Loose flake is scraped and vacuumed, then a clear topcoat — often UV-stable polyaspartic — seals the floor. Anti-slip additive can go in here.
Cure and walk-through
Foot traffic is typically fine in about a day; vehicles usually wait a few days. We walk the floor with you and go over care.
Why we grind instead of etch
Acid etching — the method in most DIY kits — cleans the surface but doesn't remove sealers or builder curing compounds, and it can leave residue behind. Diamond grinding physically removes the weak top layer and leaves a consistent profile the coating locks into. It's the biggest single reason professional floors outlast kits.
Read more on concrete repair & floor prep.
How long it takes
Most 1- and 2-car garages are finished in one to two days. Larger 3-car garages, shops, metallic floors and floors needing heavy repair can take longer. Cure times depend on the system and the temperature — polyaspartic topcoats return to service faster, and cold winter garages slow epoxy down, so we plan around both.
Preparing for install day
- Empty the garage floor completely, including shelves sitting on the slab if they're being coated around
- Park vehicles outside or on the street for the cure period
- Make sure we have power and water access
- Keep kids and pets out of the garage until the floor cures
After your floor is done
Wait the recommended time before parking, then sweep regularly, mop with a mild cleaner, and squeegee out winter slush so deicers don't sit on the surface. See how long garage epoxy lasts for more care tips, or request your free estimate.
Ready for a garage floor that lasts?
Free on-site estimates across Boise and the Treasure Valley.